
How to Set Up a Webcam on macOS Sequoia
This quick guide walks you through plugging in and verifying your webcam on macOS Sequoia, plus where to adjust picture settings inside common meeting apps.
Set Up Your Webcam
-
Plug the USB plug into the USB port
Make sure the USB plug is fully seated in the port.
-
Check for compatibility
Confirm with your webcam manufacturer that it’s compatible with macOS. (All Cyber Acoustics webcams are compatible with macOS Sequoia.)
-
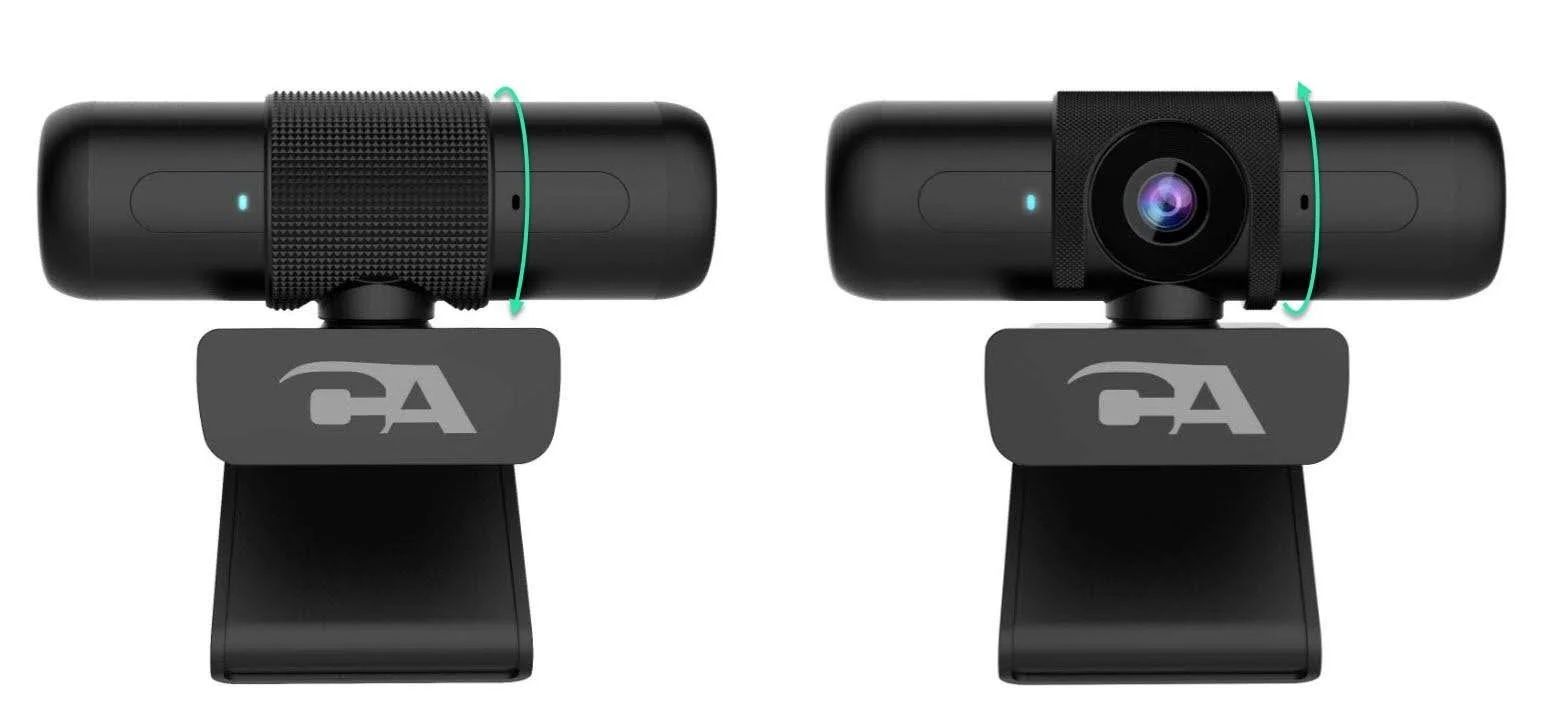
Check the privacy shield (if present)
If your webcam has a privacy shutter, flip it up so the lens is uncovered.
-
Adjust picture settings in your meeting app
macOS has limited built-in webcam controls. Most adjustments (exposure, focus, etc.) are inside your conferencing app. Use the app-specific guides below for step-by-step setup.
Tip: Open your meeting app’s settings (Zoom, Microsoft Teams, or Google Meet) to choose your camera and adjust picture options before you join a call.
Set Up Your Webcam in Popular Apps